NavigationSyndicateUser login |
3D Lenticular Image Creation with GIMPSo much fun playing and making your own lenticular images! After receiving the lenticular sheets, I tried some free specialized lenticular software. I did not really work as the free version was always limited feature wise. As I wanted to experiment with a start-free-first approach, I experimented GIMP. I actually could create easily few quite impressive (!!!) deep 3D pictures. I share here my little recipe. Choose then Order the Lenticular SheetsI was looking for lenticular sheet with postcard size, initial order small quantity, and around 60 max LPI (lines per inch) due to my standard home ink-jet printer limitations, wanting to do 3D with 12 images. The sheets must include adhesive to glue the print-outs to the sheets. I ordered here my sheets from VueThru, the "3D 5X7 (12X17 cm) 60 LPI Lenticular Lens with Adhesive. Lines - Short Side". One reason being: "VueThru 60LPI lenticular lenses are ideal for 3D lenticular prints". It costed me a bit more than 100USD including shipping to Asia. They arrived very quickly and customer service was really really good. Know your Target Image DPI (calibration)First thing to do is to define DPI under which to print to match the sheet LPI. Because the printer advertised DPI is not 100% exact, printing at the same value as lenticular will lead to progressive shift. It is required to know at which DPI to print to after perfect alignment from most left to most right. My printer is an HP DeskJet 4729, claiming "Up to 1200 x 1200 rendered dpi" and "Up to 4800 x 1200 optimized dpi color (when printing from a computer and 1200 input dpi)". I used 3DMasterKit from Triaxes which has an easy pitch test page feature. After testing (min 59.50, max 60.50, increment 0.10), most uniform line is at at 60.30 LPI. After retesting few weeks later, with more practice and a smaller increment (min 60.15, max 60.25, increment 0.01), 60.19 LPI came to be the best outcome... Triaxes tutorial here is excellent. Find or Create a 3D Image SourceThere are few ways to find a source of image. I used so far the first 2 ways.
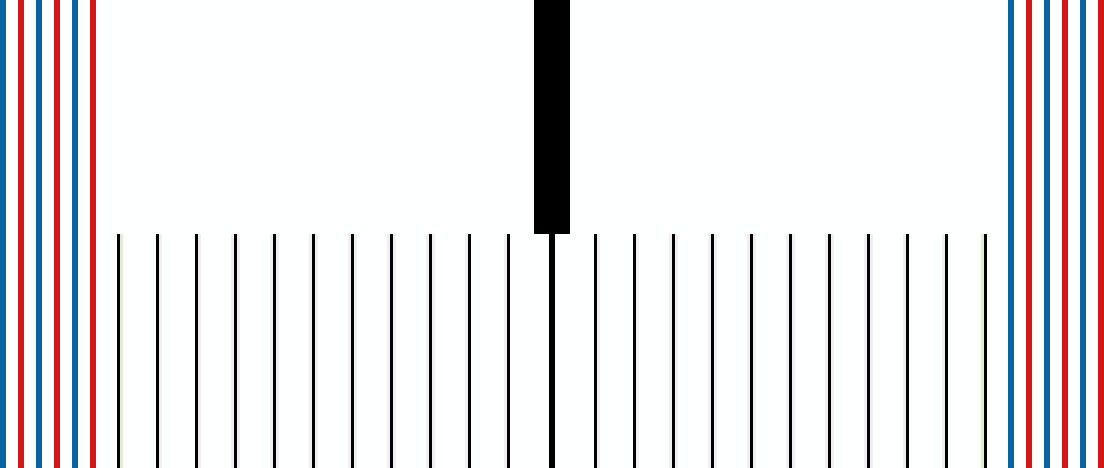
Prepare the Surrounding Frame and MaskFor the proper position, both to match the sheet lines with the pictures lines, and overall avoid parallel positioning, a frame around the picture is recommended. I copied the idea from 3DMasterKit already mentionned above:
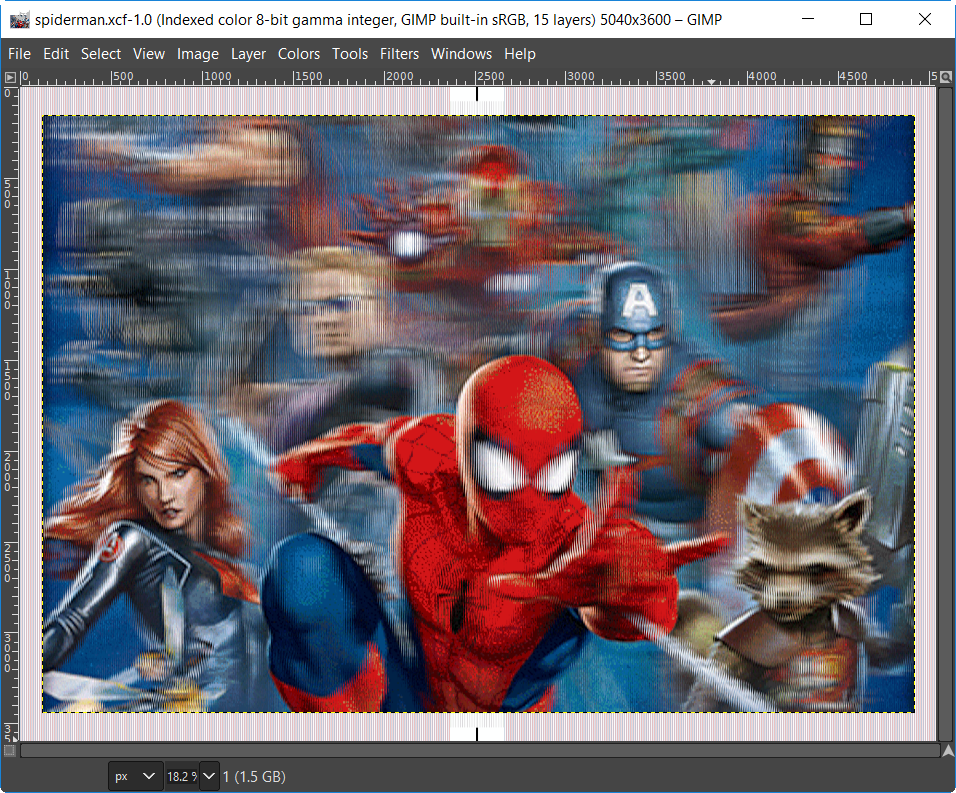
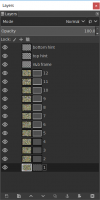
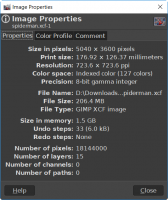
The mask looks like bellow. The frame width is 120 pixels, height is 156 pixels. It will be the top layer in GIMP. The xcf can be downloaded here. Create the Lenticular Image with GIMPGIMP v.2.10.12 was used for this activity. Since the purchased sheet is 5x7' with a 60 LPI resolution, with 12 pixels (from 12 images) per line, the target image shall be 5,400x3,600 pixels, with a DPI of 723.6 (12x60.3). Planning for 12 pixels per line, each pixel coming from a different image, 12 layers will be used on GIMP, controlled with an alpha layer simply made of white vertical lines, every 12 pixels. Note that, from the core concept of lenticular lens sheet, the image viewed from the camera most right position should have the alpha layer with white most left. As camera moves to left, the alpha layer white line moves to right. Outcome is like this. Well... just print in best quality on a ink jet paper designed for pictures. Glue the Print-Out to the Lenticular SheetNext is to "simply":
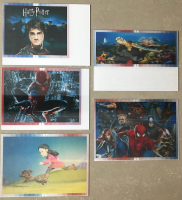
If this is not clear, and not easy, this video explains it much better than the convoluted explaination above! And 3D Animations too!Using the same technique, this time by rotating the sheet to work horizontal lines, it is possible to do animations. A lower lpi lenticular sheet is generaly recommended. Morphing tends to render better animations. Sample Output to TryI attach here 2 examples
|

